1. Introduction
Everything you need to know to add gift to a new or existing merchant, survey the gift feature functionality, and understand the merchant experience so you can properly set expectations and sell this service with confidence.
2. The Gift Card Ordering Process for Your Merchant
Your merchant will visit https://www.chargeanywheregc.com/ to browse products, add them to the shopping cart, and complete their order.
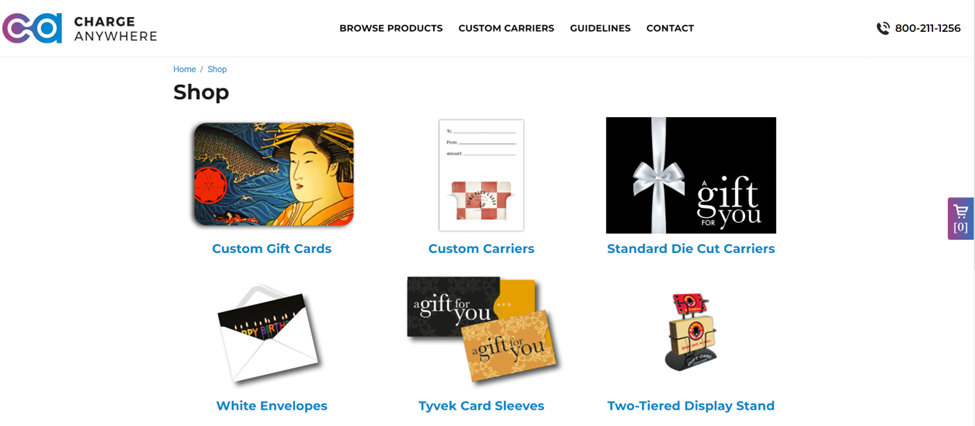
Your merchant has the opportunity to purchase custom gift cards along with either custom or standard carriers and a display stand if they so choose. Because merchants want to promote their specific brand, there are no standard card options.
If the merchant orders any quantity of custom gift cards and/or carriers, they will need to download the Art Guidelines from the site at https://www.chargeanywheregc.com/guidelines and submit the art to orders@chargeanywhere.com. We anticipate most merchants to check out through the shopping cart process, download the guidelines, follow them, and then submit their artwork.
Card and any carrier production cannot begin until artwork is received for any custom pieces. Once received, we will be in touch regarding any issues with the artwork and will provide updates regarding production and ground shipping.
Most orders can be turned around within 1 – 2 weeks outside the holiday season which begins in early October of each year. For more details on planning ahead of the holidays, please visit https://www.chargeanywheregc.com/guidelines.
3. Adding a New Merchant with Gift in the Partner Portal
Gift Card Services can be added when either boarding a new merchant to the Partner Portal or when adding services to an existing merchant through the Partner Portal.
3.1 When adding Gift to a New Merchant, once you complete the Merchant Profile, under Gateway Services, check the box to the right of Gift Card Service. This enables the service at the merchant level.
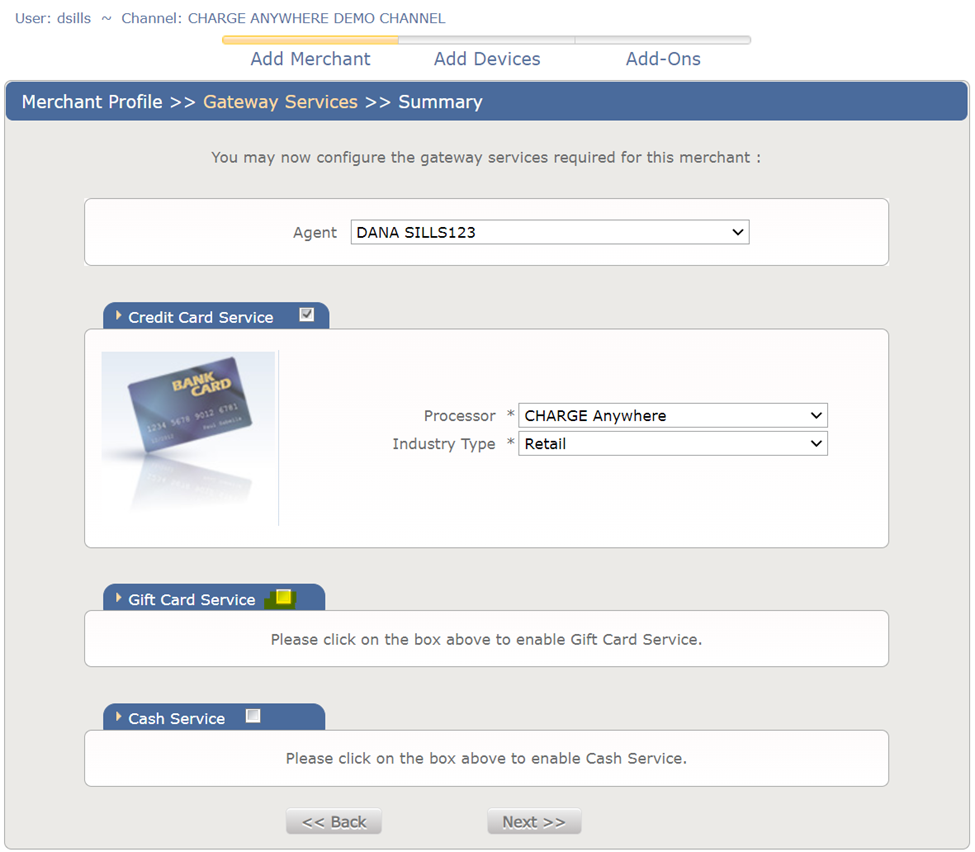
3.2 The Gift Card Services section will expand once the page refreshes from the above box being checked. For Processor, select CHARGE Anywhere. Then select the appropriate Industry Type based on the associated pull-down menu.
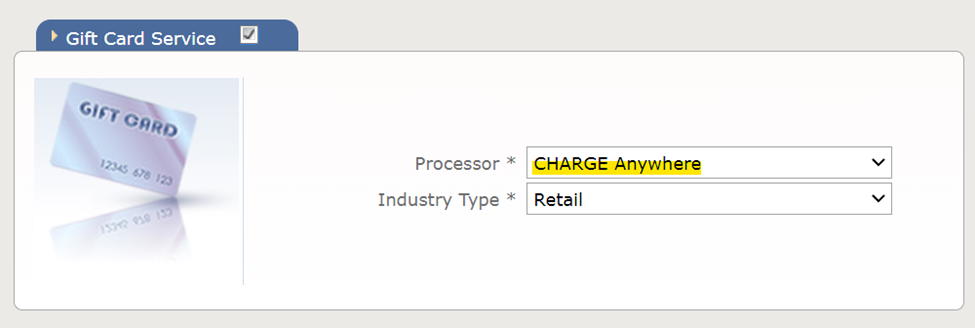
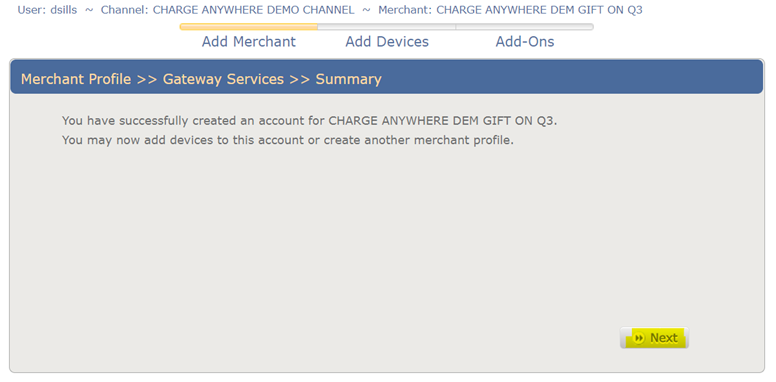
3.3 Then select Next at the bottom of the screen. Verify the information on the Summary Screen is correct and then select Submit at the bottom of the screen.

3.4 You will then receive a confirmation that the account was successfully created, and you may now add devices to this account. Click on Next.
3.5 You will then see a screen to select your device model.
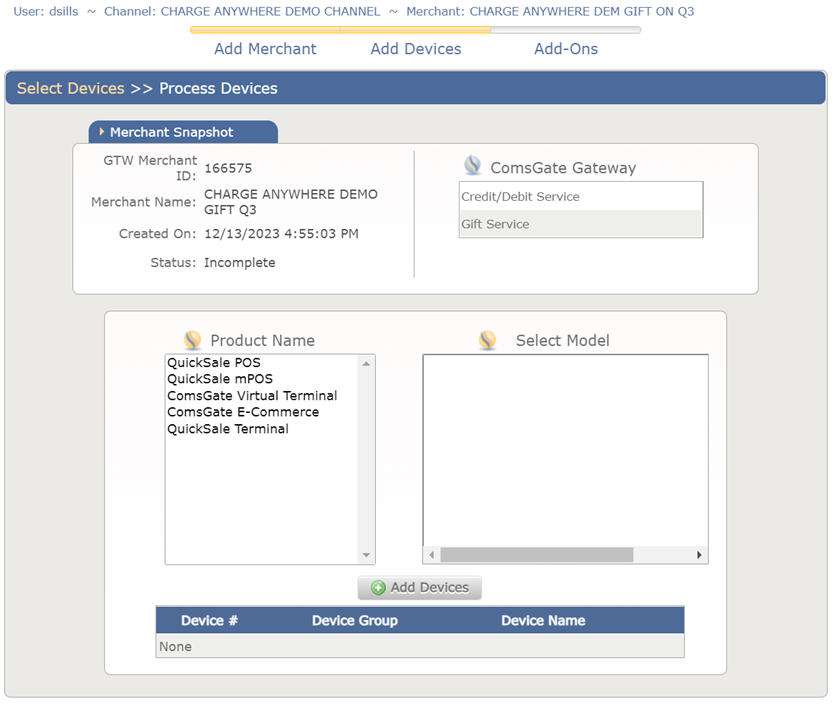
3.6 Click on the appropriate Product under Product Name. This will populate options under Select Model.
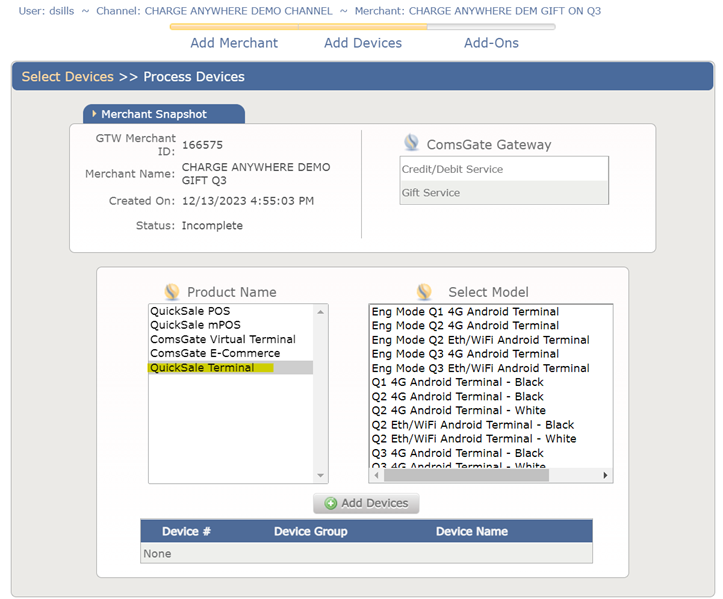
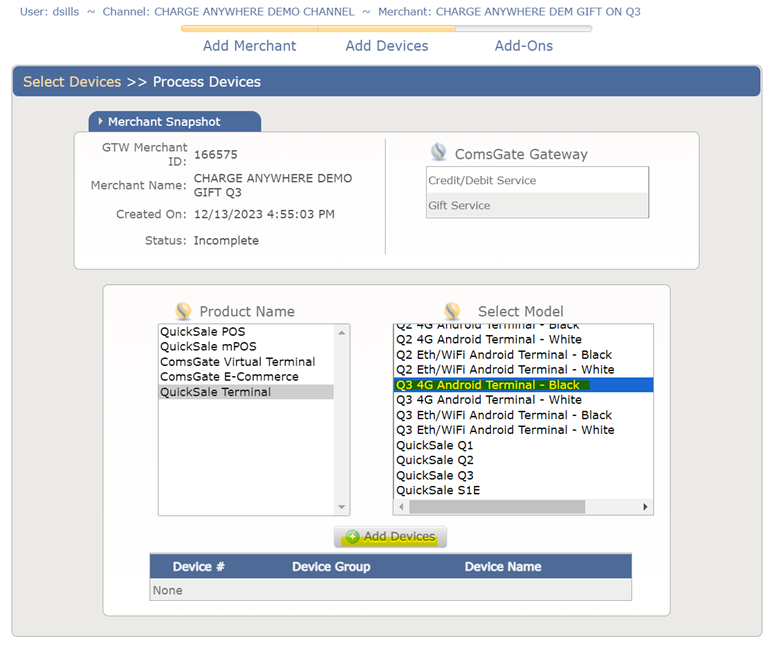
3.7 Click on the appropriate Model, then click on Add Devices.
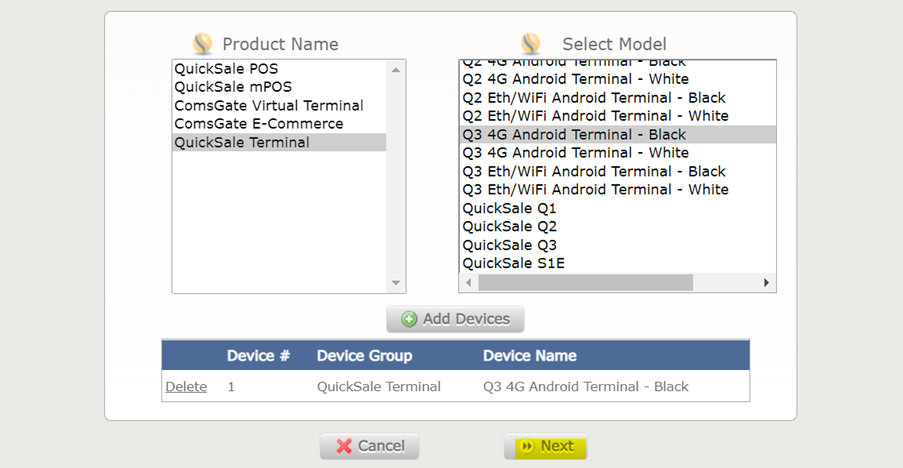
3.8 The device will then appear at the bottom of the screen. Select Next.
3.8 You will now see the Process Devices Screen. Enter the Serial Number, Check the Credit/Debit Card Service box, and select the appropriate Billable Item as well as the Gift Card Service box. Under Gift for the Billable Items select Gift Service CA-Terminal.
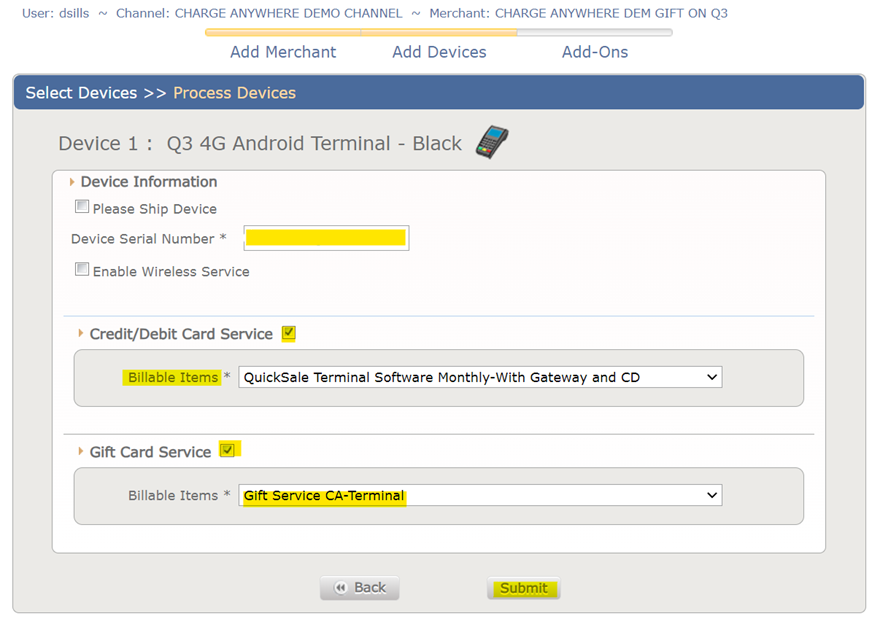
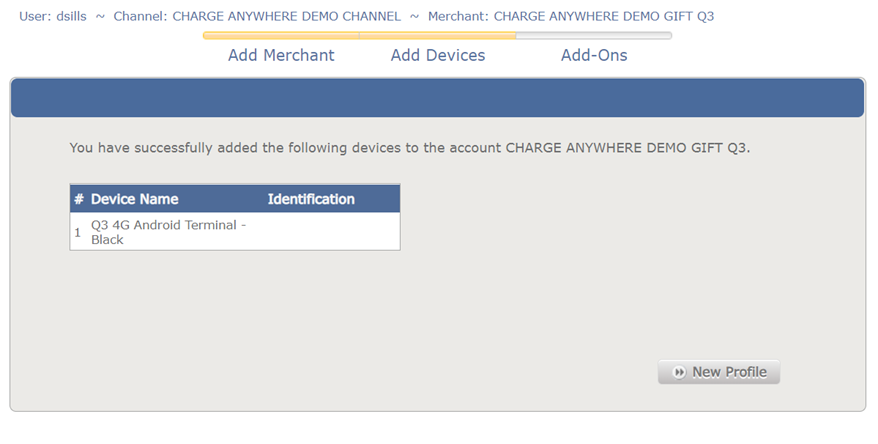
3.9 Then select Submit. You will then receive confirmation of the successful addition of the device with gift.
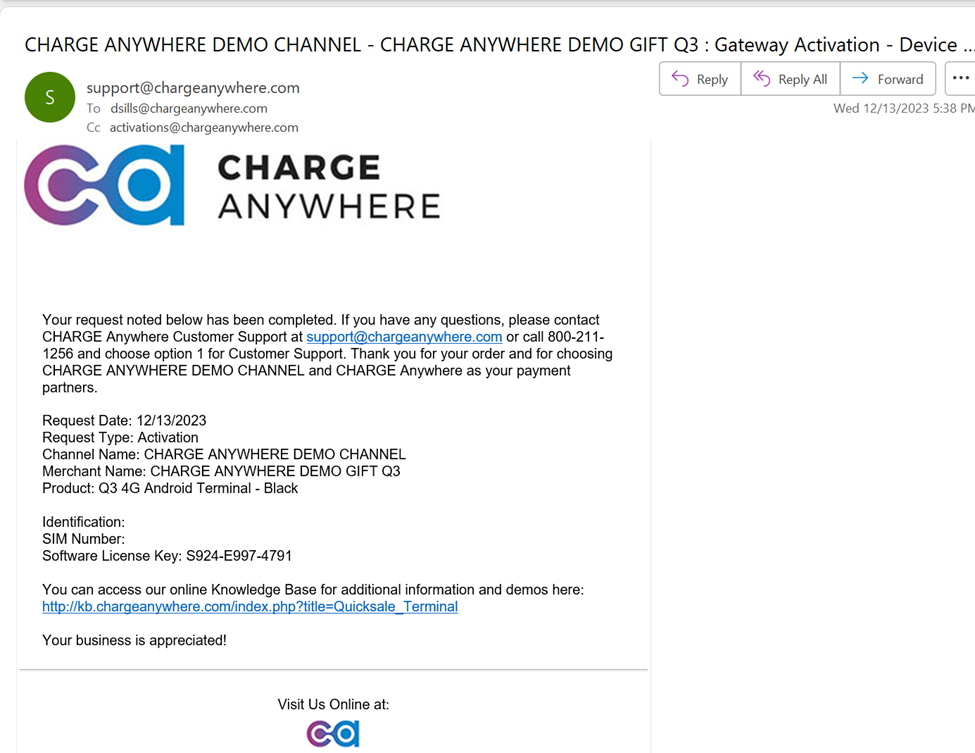
3.10 You will also receive an email reflecting the same.
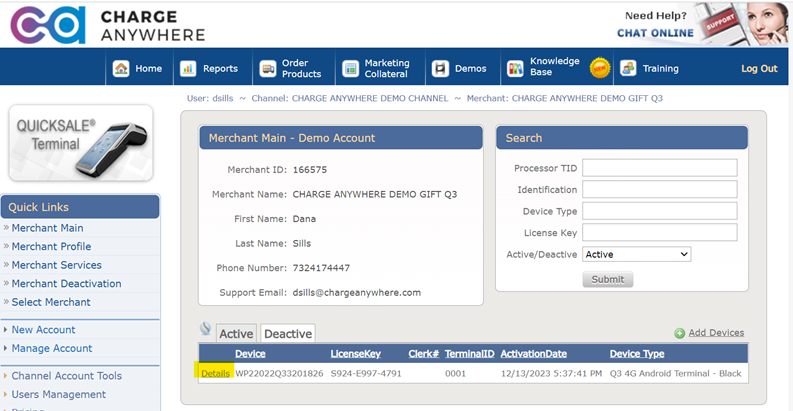
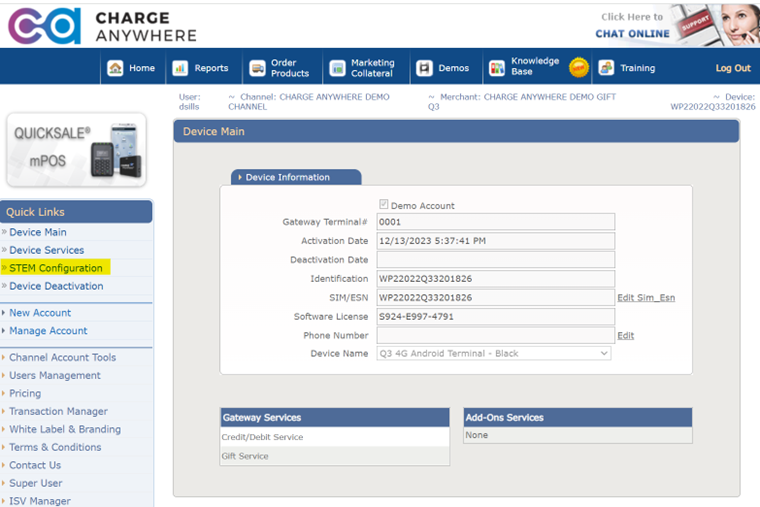
3.11 One last step is required to ensure that gift appears as a tender on the terminal device, and that is to update STEM. Here’s how to do that. From the Merchant Main screen, for each activated device, click on Details.
3.12 Under Quick Links, select STEM Configuration.

3.13 The page will look as follows.

3.14 Scroll to the very bottom and click on Config Tender Types.
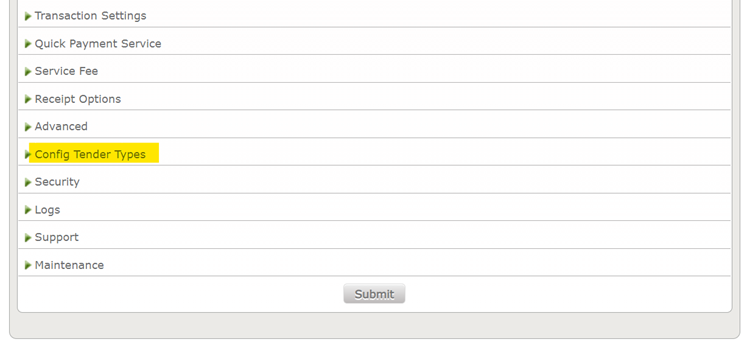
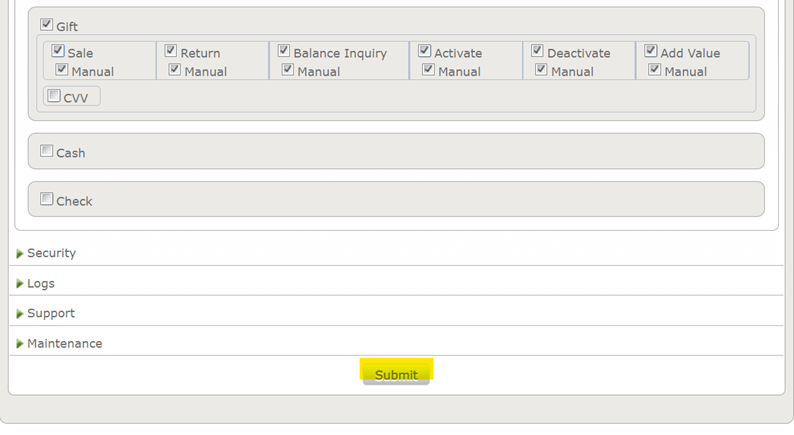
3.15 This will cause the screen to expand. Check the Gift box as well as the following boxes:
[ ] Sale [ ] Manual [ ] Return [ ] Manual [ ] Balance Inquiry [ ] Manual
[ ] Activate [ ] Manual [ ] Deactivate [ ] Manual [ ] Add Value [ ] Manual
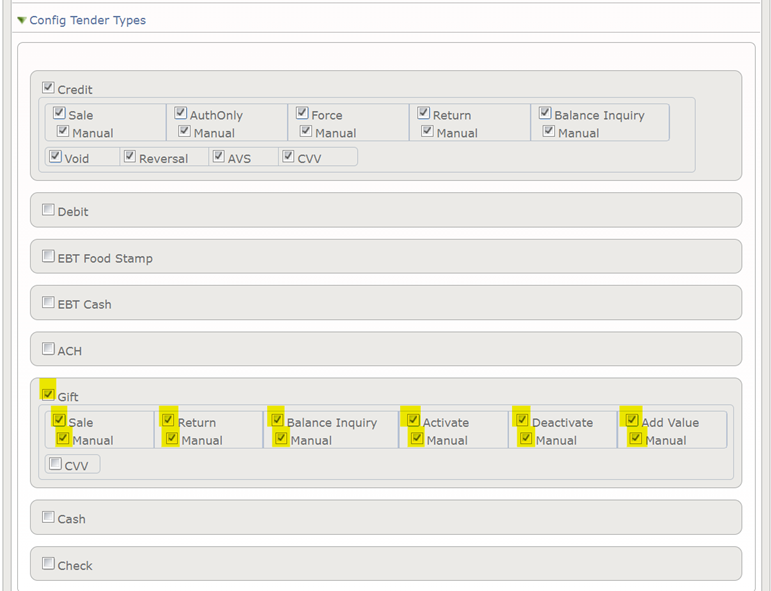
3.16 Once all are selected, click on Submit at the bottom of the screen and your terminal is ready to accept gift.

4. Adding Gift to an Existing Merchant in the Partner Portal
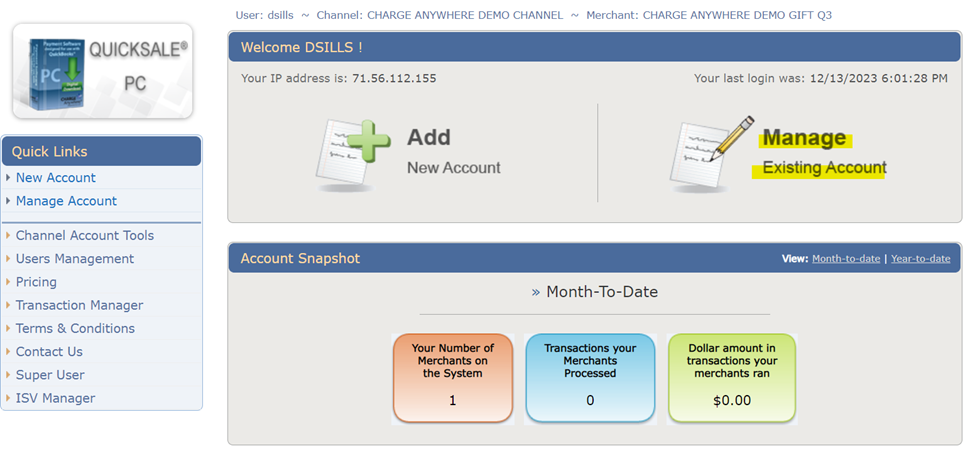
4.1 The service can also be added to an existing merchant and applied to an existing device using the same steps above by initially selecting Manage Existing Account from the Home Page.
4.2 Select your merchant, then go to Merchant Services to enable Gift by checking the box next to Gift Service.
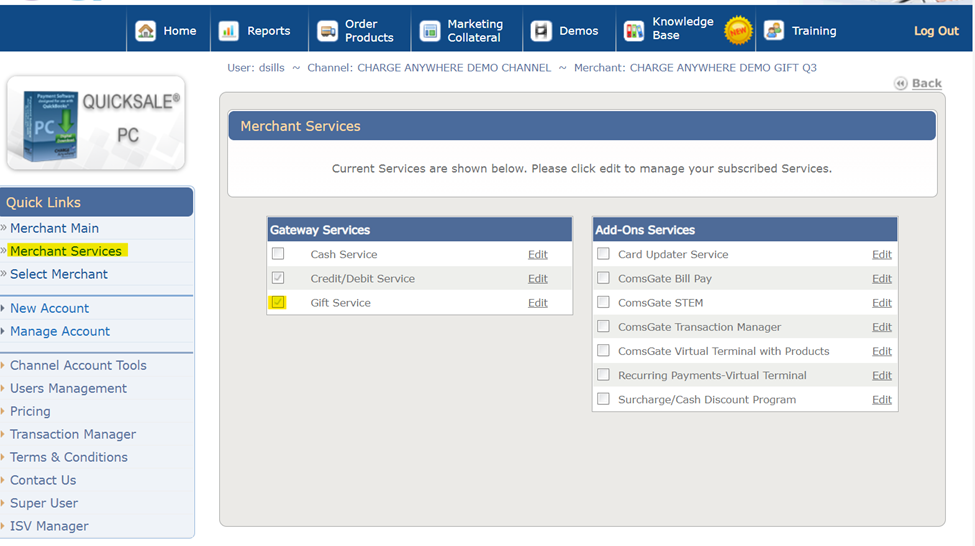
4.3 Then select Gift Service CA-Terminal to the right of Billable Items and select Update.
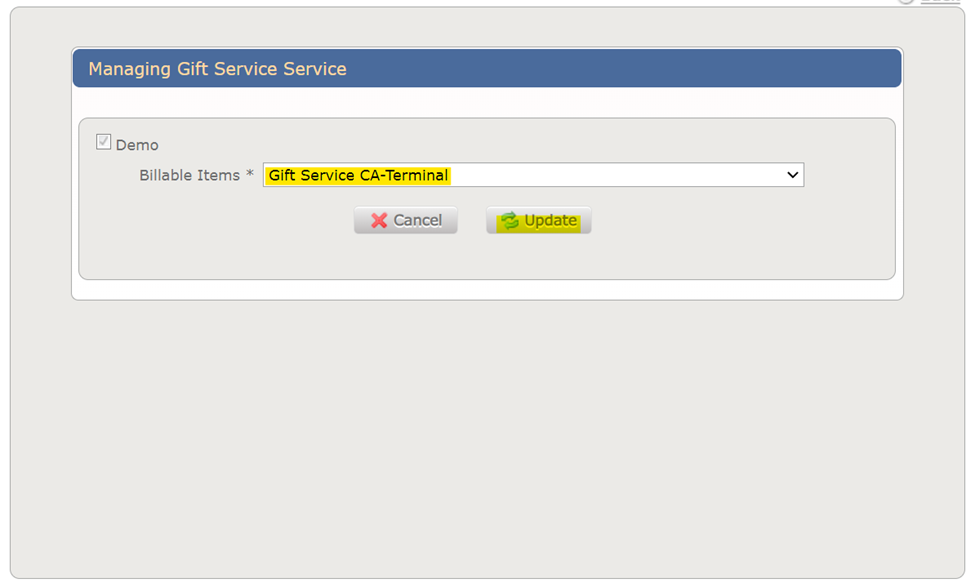
4.4 You will then receive a message that Gift Service has been Updated Successfully.
4.5 One last step is required to ensure that gift appears as a tender on the terminal device, and that is to update STEM. Here’s how to do just that.
4.6 From the Merchant Main screen, for each activated device, click on Details.

4.7 Under Quick Links, select STEM Configuration.
4.8 The page will look as follows.

4.9 Scroll to the very bottom and click on Config Tender Types.

4.10 This will cause the screen to expand. Check the Gift box as well as the following boxes:
[ ] Sale [ ] Manual [ ] Return [ ] Manual [ ] Balance Inquiry [ ] Manual
[ ] Activate [ ] Manual [ ] Deactivate [ ] Manual [ ] Add Value [ ] Manual

4.11 Once all are selected, click on Submit at the bottom of the screen and your terminal is ready to accept gift.
5. Gift Card Terminal Feature Functionality
The QuickSale App User Guides reference how to manage gift transactions in detail. We encourage you to visit that documentation should you need more information than what is provided here.
Gift cards are treated just like credit or debit cards and can process the same types of transactions such as Sale, Refund Authorize, Capture, Reversal/Void, Balance Inquiry.
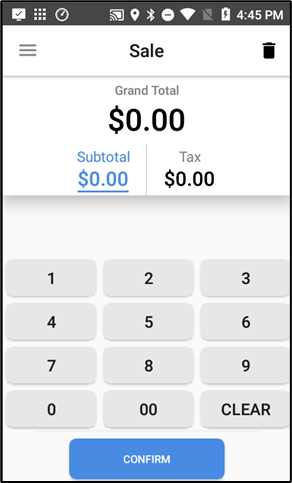
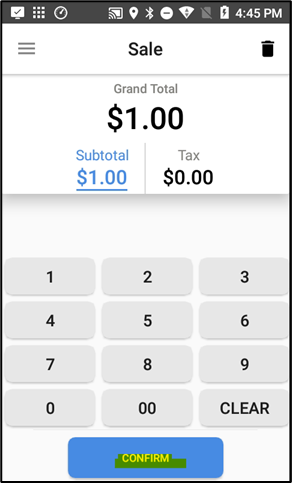
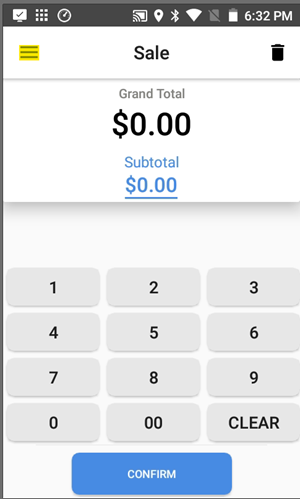
Once Gift is activated, the Gift/Loyalty icon will be visible on the screen. In this example we are using a Q3. Below is a sequence of transactions when performing a Sale.
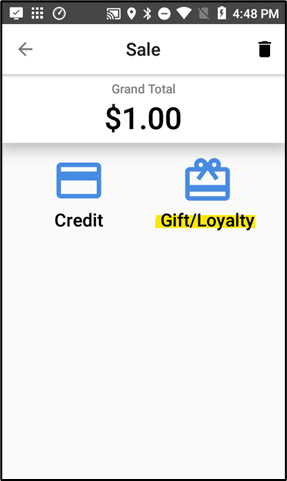
5.1 Enter the Sale amount, select Confirm, then select Gift/Loyalty.
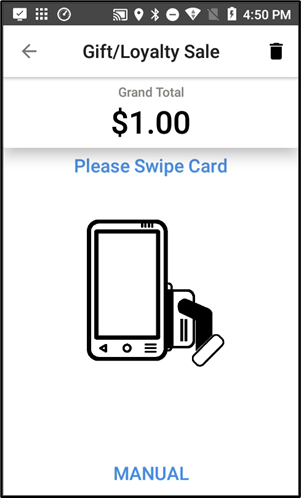
5.2 You will then be prompted to either swipe the card or enter the card manually.
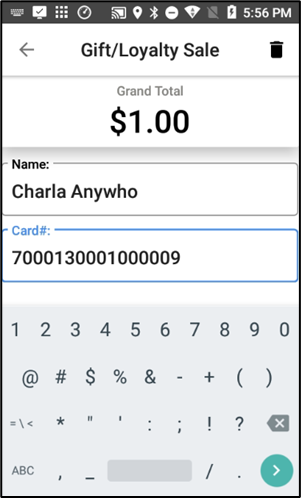
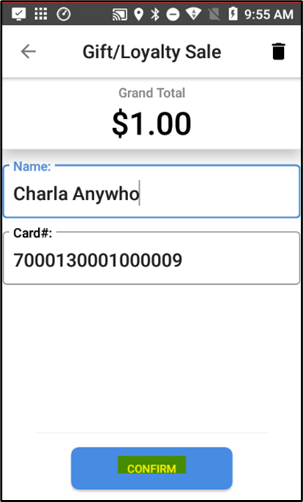
Below is an example of the name and giftcard number being entered manually. The Name and Card# fields can be tapped to enter. When you press the triangle button on the bottom left of the device, just outside the visible screen, you will be prompted to confirm the information entered is correct. Select CONFIRM.
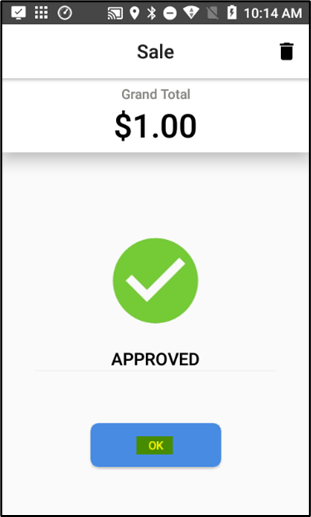
5.3 Once confirmed, you will see the resulting APPROVED screen. Click on OK and you will return to the Sale screen ready to run the next transaction.
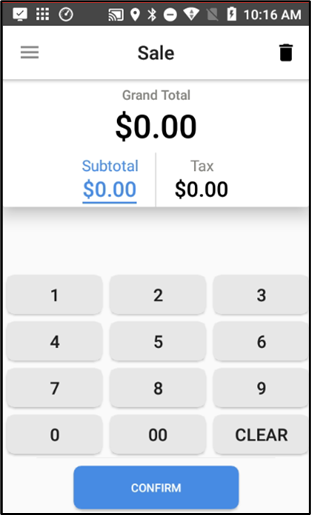
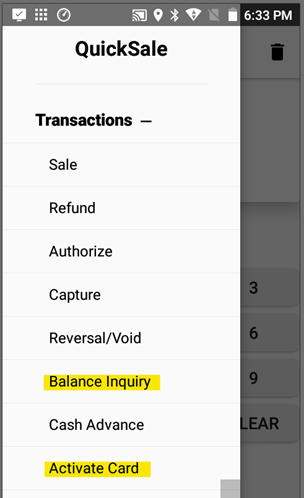
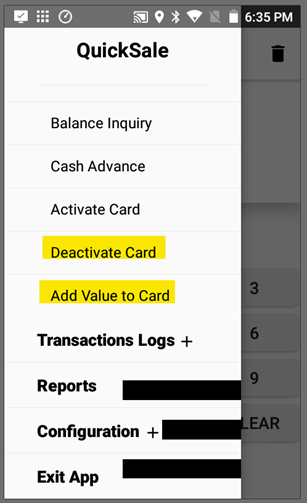
5.4 To Activate, make a Balance Inquiry, Deactivate, or Add Value to a Card the merchant needs to click on the three bars on the top left default Sale Screen.
Adding gift card acceptance to your business is a great way to further your brand, increase customer spend, and engage new customers. We hope you enjoy!