Overview
The Products module enables users to create, update, delete, import, and export products and product categories available for sale through a merchant’s terminal or POS system. It supports single-item management as well as bulk operations via CSV import.
Access Requirements
- Valid login credentials
- Merchant must be selected (for partners)
- User permissions to manage products
Capabilities Overview
| Functionality | Description |
|---|---|
| Search Products | Filter products by code, name, type, price, and other attributes |
| Add Product | Add a new item with full details, including type, price, and tax status |
| Edit Product | Modify details of any existing item |
| Delete Product | Remove products no longer offered |
| Export Products | Download current product catalog as a CSV |
| Import Products | Upload a new or bulk-modified product list using the Charge Anywhere template |
| Add Category | Add a new category |
| Edit Category | Edit an existing category |
| Delete Category | Delete an existing category |
Managing Products
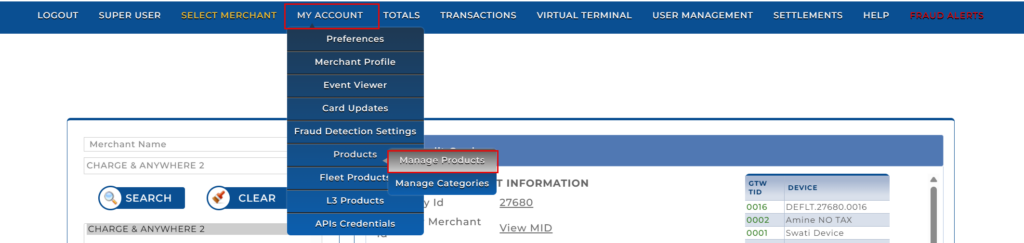
Navigating to Manage Products
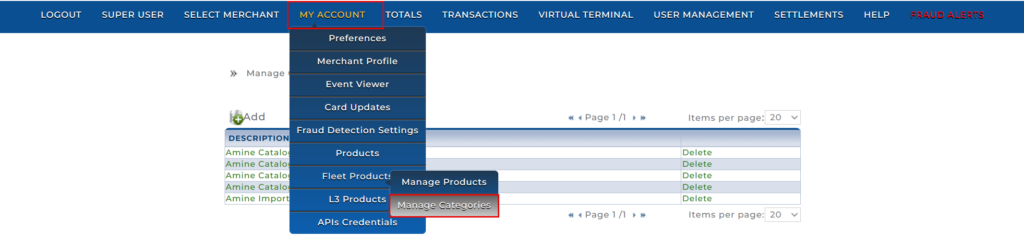
- Go to MY ACCOUNT > Products. From here, you select the Manage Products module.
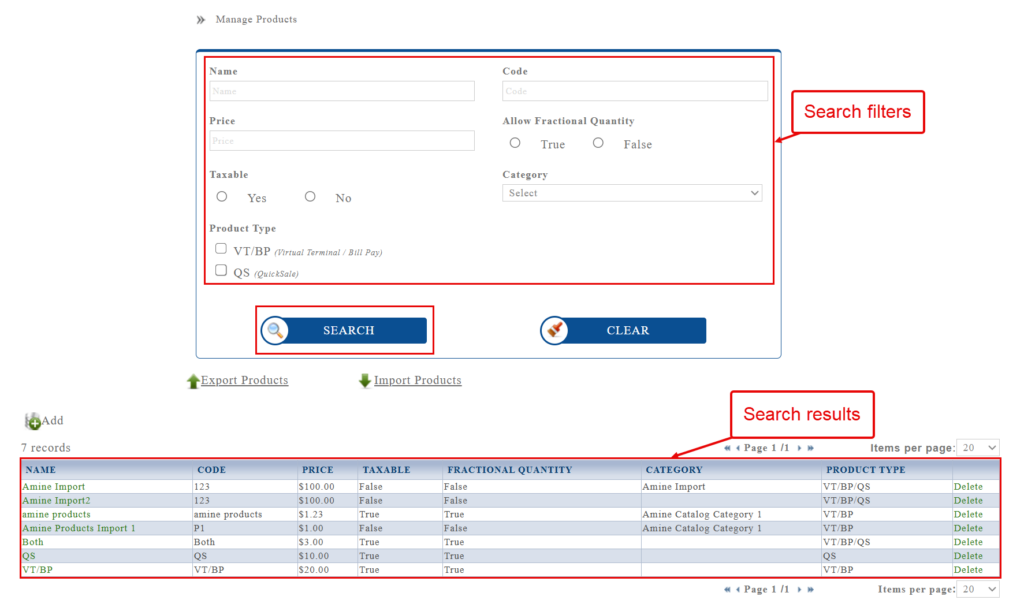
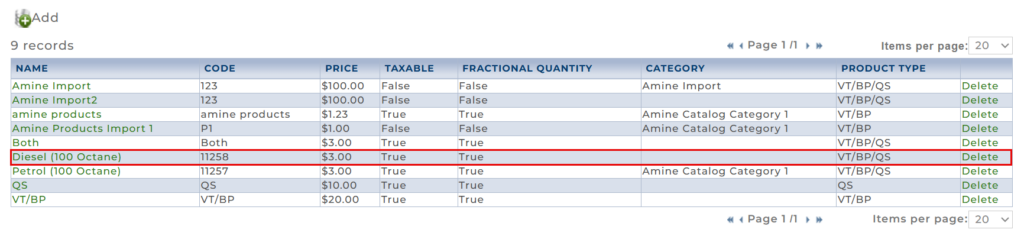
Searching for Products
Use the search filter at the top of the screen to find specific products.
Search Filters:
- Name: Product name or keyword.
- Code: Unique product identifier (SKU).
- Price: Unit price filter.
- Allow Fractional Quantity: TRUE/FALSE – allows decimal quantity sales (e.g., liters).
- Taxable: TRUE/FALSE – indicates if the item is subject to tax.
- Category: Select from a dropdown of your predefined categories.
- Product Type: Filter products based on terminal availability:
- VT/BP: Virtual Terminal / Bill Pay.
- QS: QuickSale.
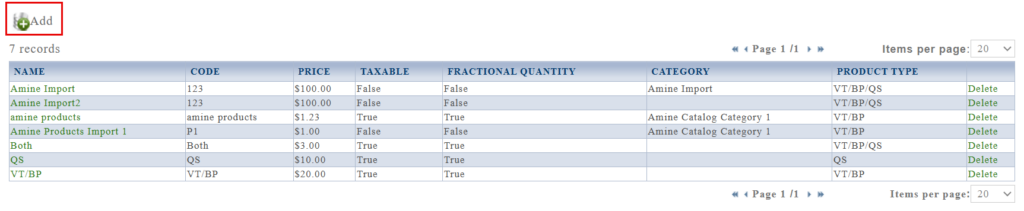
Adding a New Product
1. Click the Add button.
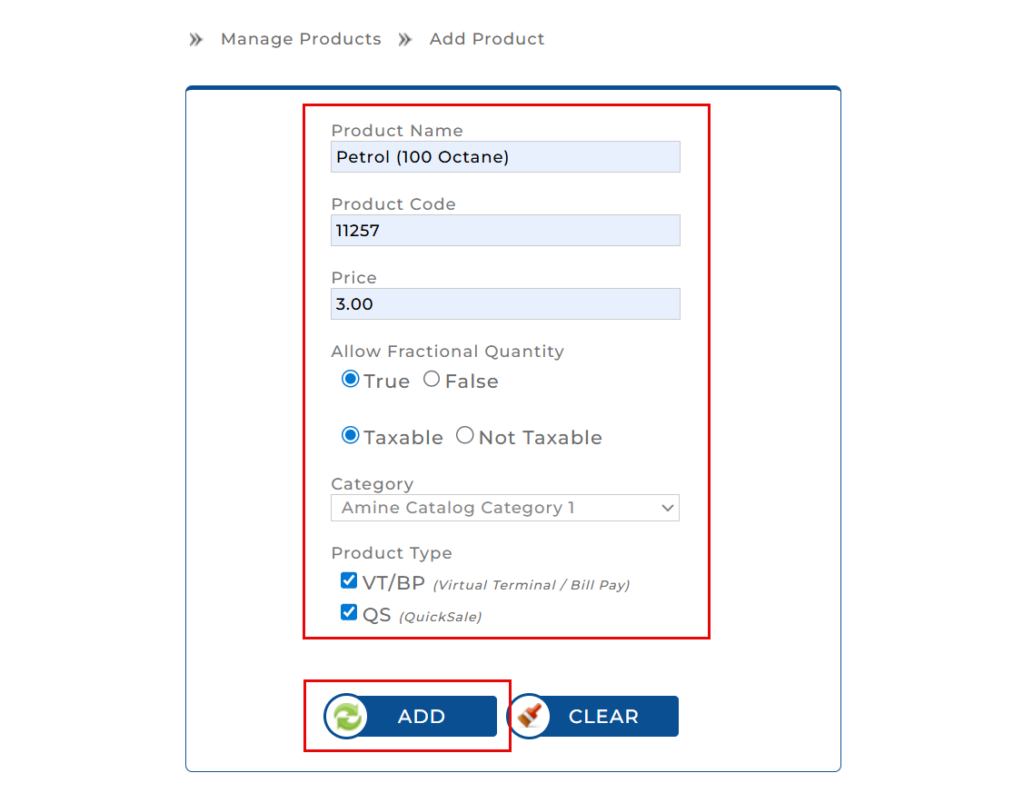
2. Fill in the required product details:
- Product Name/Code/Price: Basic item identification and unit cost.
- Allow Fractional Quantity: Select True to allow decimal sales (e.g., liters) or False.
- Tax Status: Select Taxable or Not Taxable.
- Category: Assign the item to a category from the dropdown menu.
- Product Type: Check the boxes for VT/BP and/or QS to determine which systems can sell this item.
3. Click Add to save the item to your list.
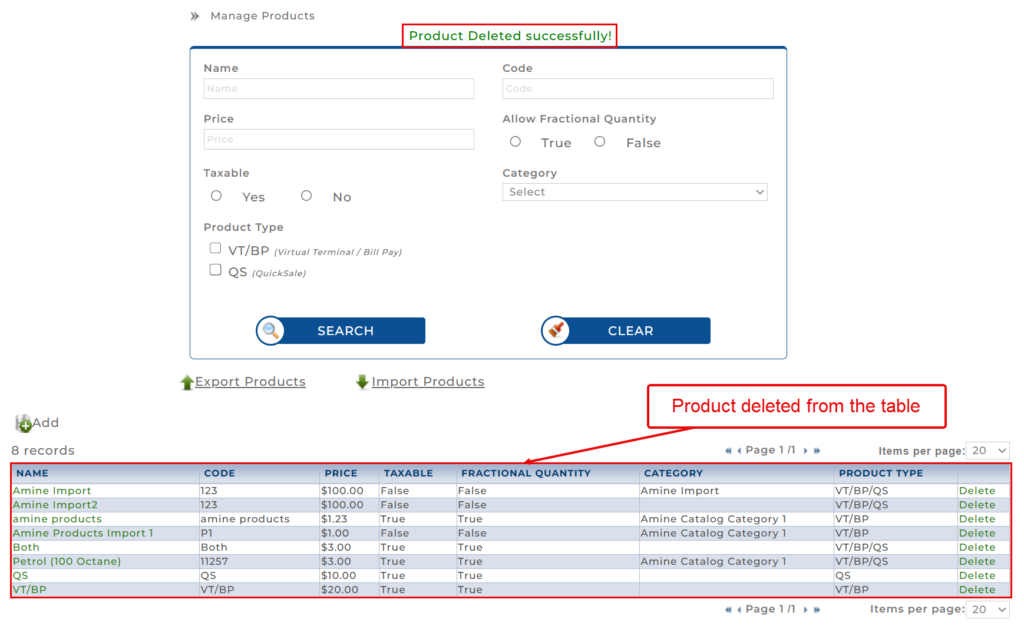
The newly added product gets added to the products list in the Manage Products page.

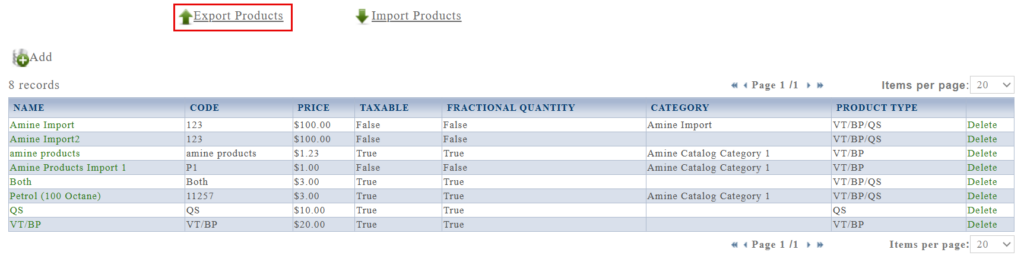
Exporting Products
- Click Export Products.
- The system downloads a
.csvfile listing all existing products.
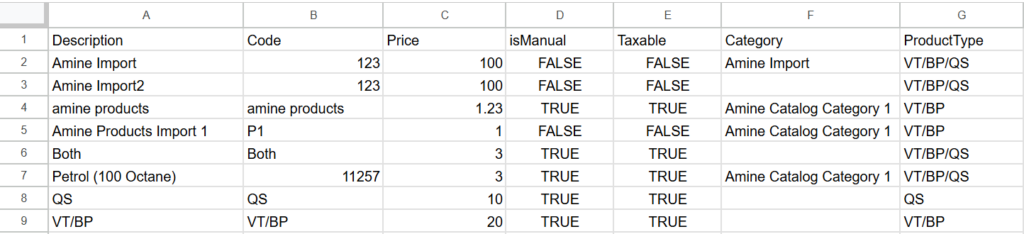
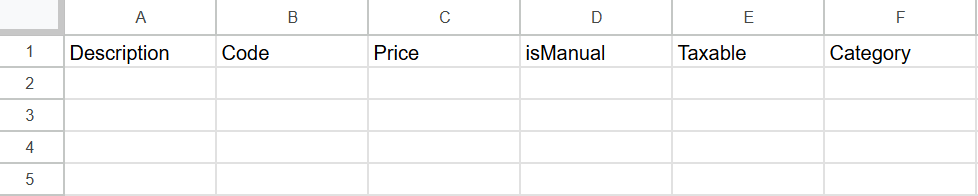
CSV Format Includes:
| Column | Field Name | Description |
| A | Description | The human-readable name of the product. |
| B | Code | Unique product identifier or SKU. |
| C | Price | The unit selling price. |
| D | isManual | TRUE/FALSE flag for manual entry. |
| E | Taxable | TRUE/FALSE flag indicating tax status. |
| F | Category | The category assigned to the product. |
| G | ProductType | Terminal availability (VT/BP, QS, or both). |
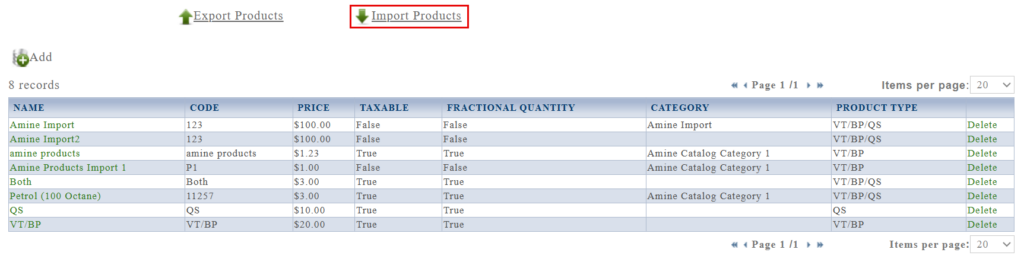
Importing Products (Bulk Upload)
To bulk import products:
1. Click Import Products.
2. Click Download Products Import Template.
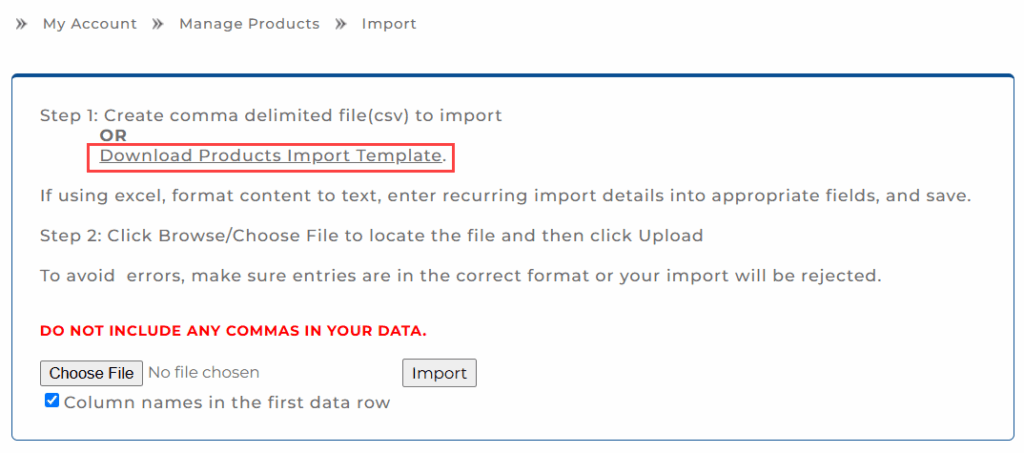
The system downloads a .csv file listing all the columns for products.
3. Fill in the required fields:
Template Columns:
| Column | Field Name | Description |
| A | Description | The human-readable name of the product. |
| B | Code | Unique product identifier or SKU. |
| C | Price | The unit selling price. |
| D | isManual | 0/1 flag for manual entry. |
| E | Taxable | 0/1 flag indicating tax status. |
| F | Category | The category assigned to the product. |

4. Save the file in .csv format.
5. On the Import page in the Transaction Manager, click Choose File, then upload your file.
6. Click Import.
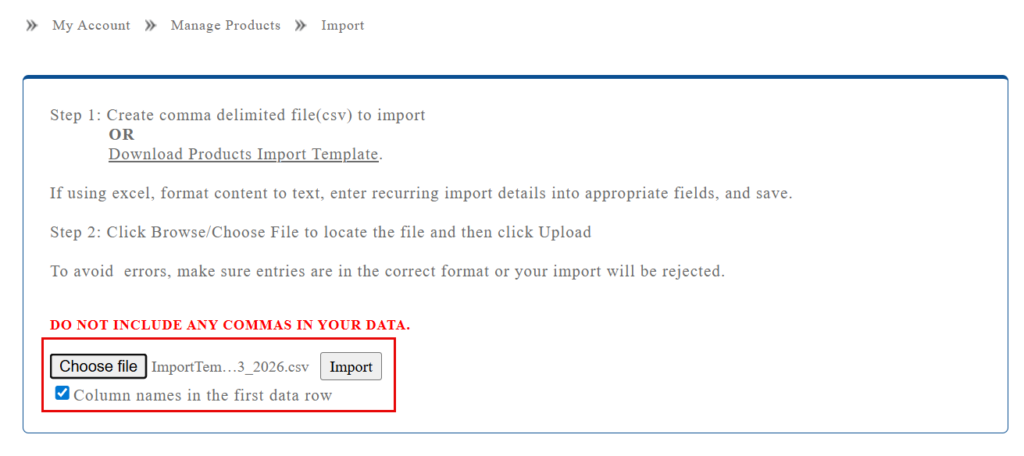
Do not include commas in values. Use plain text formatting.
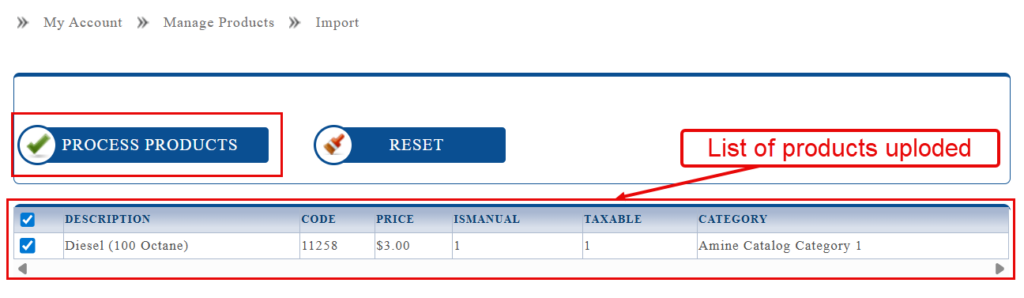
7. A list of products uploaded is displayed. Click Process Products to process and complete the product import.
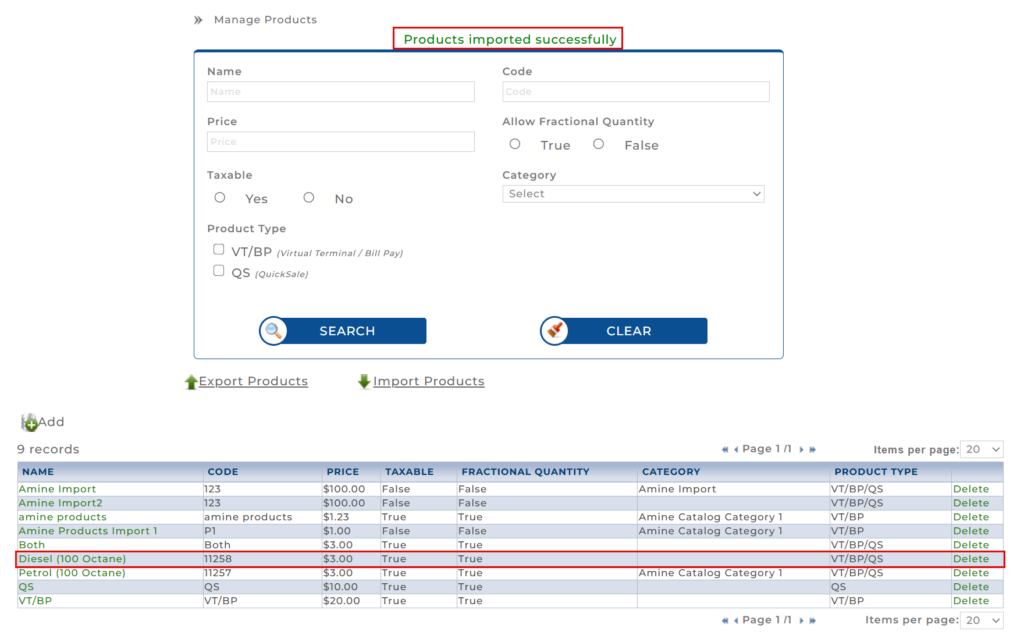
Once uploaded, the Products imported successfully message is displayed, and the new products appear in the product table.
Deleting Products
1. Locate the product in the table and click the corresponding Delete icon.
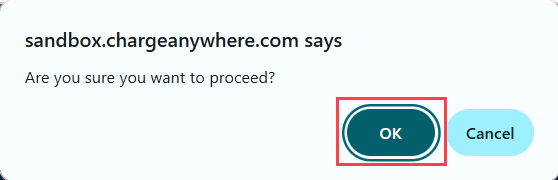
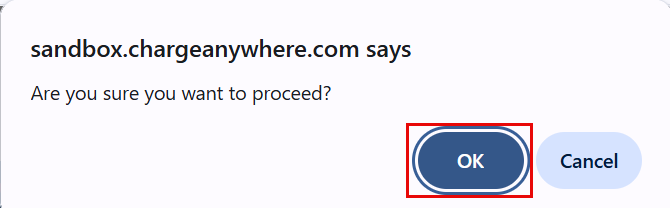
2. A pop-up appears with the message Are you sure you want to proceed?. Click OK to confirm deletion.
3. The product gets deleted, and a confirmation message appears stating Product Deleted successfully!.
Managing Categories
The Manage Categories module allows you to organize your catalog into specific groups for better filtering and reporting.
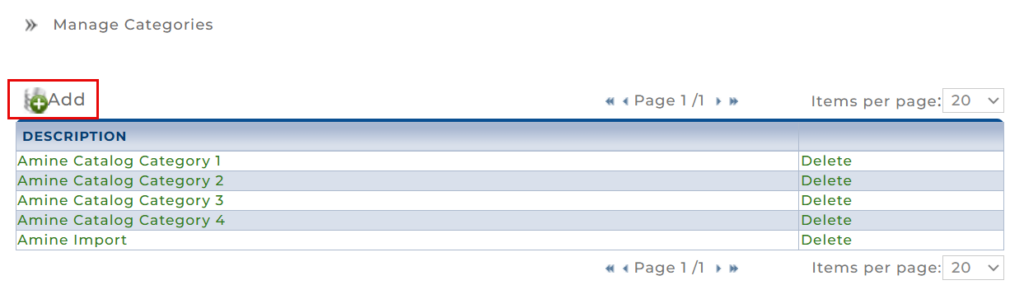
Navigating to Manage Categories
- Go to MY ACCOUNT > Products. From here, you select the Manage Categories module.

Adding a New Category
1. Navigate to My Account > Products > Manage Categories.
2. Click the Add icon.
3. Enter the Category Name (e.g., Test New Category).
4. Click ADD.
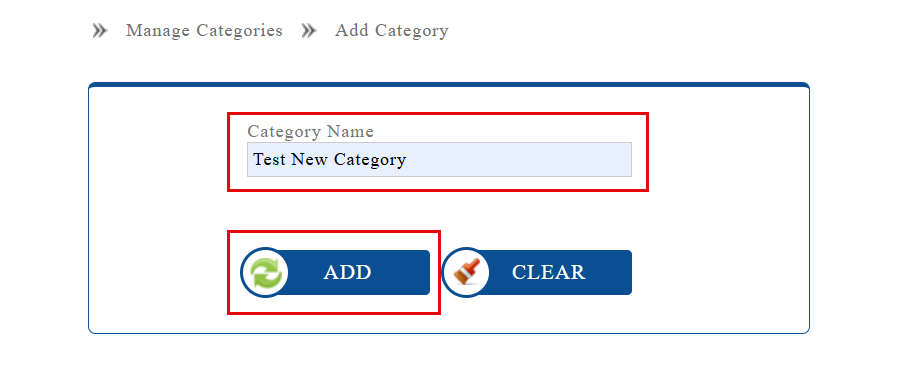
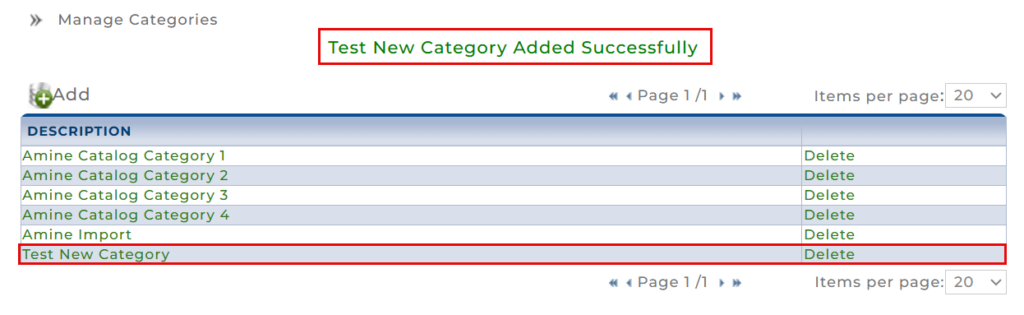
5. A confirmation message Category Added Successfully will appear at the top of the screen, and the category is added to the table.
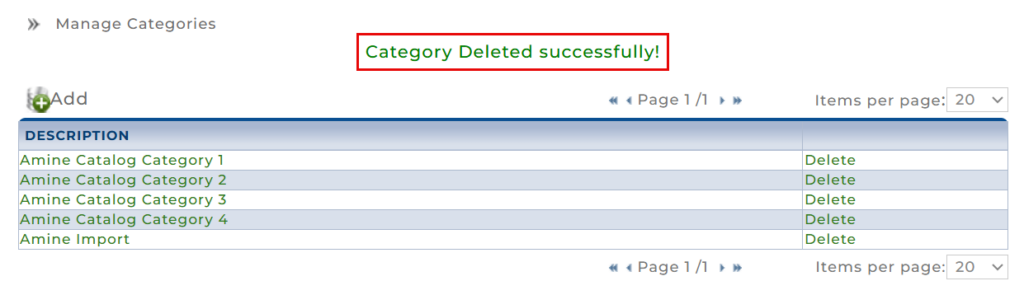
Deleting a Category
1. Locate the category in the list and click the Delete link next to the category description.
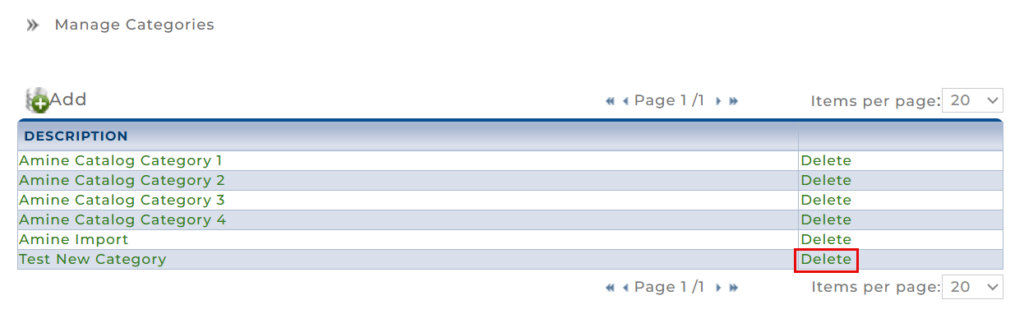
2. A pop-up will appear asking, Are you sure you want to proceed?. Click OK.
3. A confirmation message “Category Deleted successfully!” will be displayed, , and the category is deleted from the table.
Best Practices
- Define Categories First: Establish your categories before adding products to ensure consistent organization.
- Check Product Types: Ensure items are correctly assigned to VT/BP or QS so they appear on the correct terminals.
- Regular Backups: Use the Export Products feature to maintain a backup of your catalog.
Change Log
| Date | Update Summary |
| March 3, 2026 | Added the Manage Categories section and updated the Manage Products section. |
Get a monthly summary of technical document updates.